The Fourth Discipline: Mastering Triathlon Transitions
Quick Answer: Transitions are triathlon’s fourth discipline, and they’re the cheapest minutes in the sport. Lay everything out in use order on a small towel — shoes open, helmet upside down on the bars with straps out, glasses inside the helmet, race belt ready. In T1, helmet on before you touch the bike (officials enforce this). In T2, bike racked before helmet off. Skip flying mounts entirely as a beginner. Calm beats acrobatics by minutes.
Three sports, one secret fourth.
An unpracticed transition costs three or four minutes. A rehearsed one costs sixty seconds. That’s a bigger swing than most first-timers will find anywhere in the swim, the bike, or the run.
And it’s free. You practice it in a driveway.

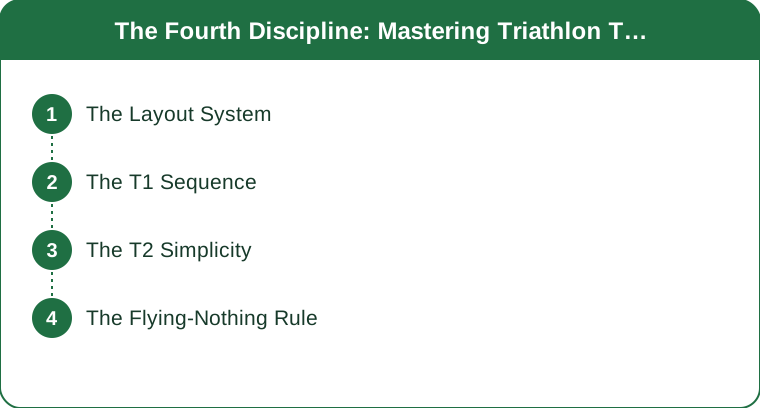
How should you set up your transition area?
Treat it as mise-en-place. Everything in use order, nothing extra.
The layout, front to back:
- A small towel as home base. Small is deliberate — a big towel invites clutter and encroaches on your neighbor’s space, which is both rude and slow.
- Bike shoes open and ready. Straps or velcro undone, tongues pulled forward.
- Helmet upside down on the aero bars or handlebars, straps hanging out to the sides. Upside down so you can grab and drop it straight on; straps out so you’re not digging for them with wet hands.
- Sunglasses inside the helmet. They’re where you’ll look for them and they can’t blow away.
- Race belt with the bib already attached, laid flat.
- Running shoes behind the bike gear, laces already loosened.
That’s it. The cluttered transition spot is where race-morning minutes go to die — every extra item is one more thing to look at while your heart rate is at 170.
Before the race starts, walk from swim exit to your bike, and from bike-in to run-out, so you know your row and your route. Transition areas look completely different from the water than they did in the dark at 6 a.m.
What’s the sequence for T1, swim to bike?
Choreograph it and it takes about a minute.
During the run in from the water: unzip the wetsuit, pull the cord, get your arms out and peel the suit down to your waist. This is the multitask that saves the most time — doing it standing still at your bike costs 30 seconds you don’t need to spend.
At your spot: step on the suit and pull each leg out. Wet neoprene doesn’t slide; stepping on it gives you something to pull against.
Then helmet ON, buckled, before you touch the bike. This is the rule that gets enforced most consistently and the penalty is real. Helmet, then bike. Every time, including in practice, so it’s automatic.
Then walk or run the bike to the mount line and mount there, past the line.
Practice the wetsuit peel wet. A dry rehearsal in your living room tells you almost nothing — dry neoprene comes off easily and wet neoprene grips. Take it into open water or a pool once before race day.

What about T2, bike to run?
Shorter script, and the order still matters.
- Dismount before the line, run the bike in.
- Rack the bike, then take the helmet off — in that order. Reversing it earns a penalty at most races, and it’s an easy one to trip over when you’re tired.
- Shoe swap. This is where elastic laces earn their reputation — they turn 30 seconds of tying into 5 seconds of pulling on. If this article has one gear commandment, that’s it. They cost about $10.
- Spin the race belt to the front and go.
Expect the jelly-legs stride for the first half-mile off the bike. That sensation is entirely normal and it’s the whole justification for brick training — bike-to-run sessions in the weeks before, so the feeling is familiar rather than alarming on race day.
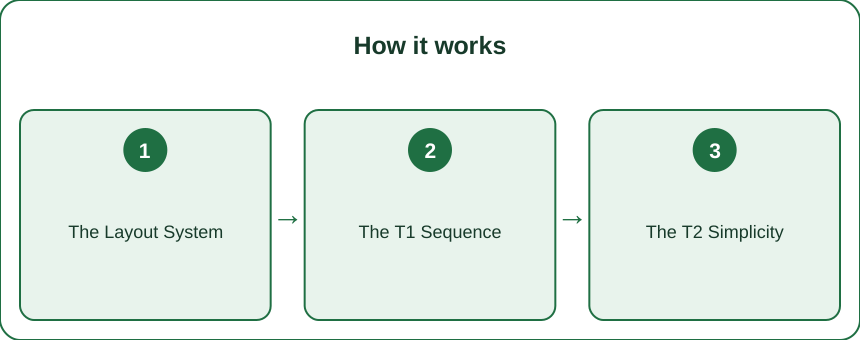
Should beginners do flying mounts?
No. Skip the entire circus.
Flying mounts, shoes pre-clipped to the pedals with rubber bands, sockless running, aero everything — these are optimizations for athletes whose transitions are already clean. Each saves a handful of seconds and each introduces a way for race day to go badly if it isn’t deeply rehearsed.
The beginner’s transition wins by calm: a rehearsed sequence, a tidy spot, walking pace where walking is fine, and no fumbling.
Fumbling is where the minutes actually go. Not acrobatics — fumbling. A first-timer who executes a boring, orderly transition will beat a first-timer attempting a flying mount by a comfortable margin, and will do it without ending up on the ground in front of two hundred people.
Add the fancy moves in your second season, one at a time, practiced until they’re dull.
5 Mistakes Everyone Makes
- Bringing too much stuff. A towel, gear, and nothing else. Every extra item is a decision to make at 170 bpm.
- Touching the bike before buckling the helmet. The most commonly penalized error in the sport and completely avoidable with practice.
- Practicing the wetsuit peel dry. Wet neoprene behaves nothing like dry neoprene. One wet rehearsal is enough.
- Regular laces. Elastic laces are $10 and save 25 seconds. There’s no argument on the other side.
- Not walking the route beforehand. Athletes routinely run past their own row. Walk swim-in to bike, and bike-in to run-out, before the start.
FAQ
How long should a triathlon transition take?
For a first-timer, T1 in 2 to 3 minutes and T2 in 1 to 2 minutes is a reasonable target, and both are achievable with a few driveway rehearsals. Experienced age-groupers run T1 around 60–90 seconds and T2 under a minute. The gap between an unpracticed and a practiced transition is typically 2 to 4 minutes across both — larger than most beginners will gain from months of extra bike training.
Can you put your helmet on after getting on the bike?
No. In virtually every sanctioned triathlon, your helmet must be buckled before you touch or move your bike in transition, and it must stay buckled until the bike is racked in T2. It’s one of the most consistently enforced rules and carries a time penalty or disqualification depending on the race. Practice the order until it’s automatic.
How do you practice triathlon transitions at home?
Set up your gear on a towel in a driveway or garage exactly as you would in transition, then run through the full sequence at race pace — including the helmet, the mount-line walk, and the shoe swap. Ten repetitions across a couple of sessions is enough to make the order automatic. Practice the wetsuit removal separately, and do it wet at least once.
TL;DR:
- Transitions are worth 2–4 minutes and cost nothing to train.
- Lay gear in use order on a small towel: shoes open, helmet upside down with straps out, glasses inside, race belt flat.
- T1: peel the wetsuit to your waist while running in, step-and-pull to remove, helmet on before touching the bike.
- T2: rack the bike, then remove the helmet — that order, or it’s a penalty.
- Elastic laces are the one gear commandment. $10, 25 seconds.
- Skip flying mounts as a beginner. Free speed comes from not fumbling.
- Walk both routes before the start, and practice the wetsuit peel wet.
Keep Reading
This article is for general informational and styling purposes only. Fit, sizing, and product availability may vary.